
Cut a piece of fabric wide enough to wrap around the entire lower third section of the basket, and long enough to cover most of the base — sort of like a skirt. Next, glue the fabric around the basket at the top and bottom edges, hiding the frayed strings with a small ½-inch fold. This will create a bit of a pleated look toward the bottom, so be sure to straighten the pleats and space them evenly. Cut out a cardboard piece using your bowl’s rim as the outline.
Use the same bowl with the fabric, but make the circle about 3 inches bigger all the way around. Next, create 1-inch slits around the excess fabric edges, spacing them an inch or so apart. Place the cardboard circle onto the underside of the fabric circle, then fold the excess edges snugly over the back of the cardboard, securing them together with glue. This will serve as a base attachment.
Glue the fabric-covered circle to the basket’s underside, with the printed side facing out. For the basket’s feet, glue one bead to the top of each bottle cap, and then glue these four pieces to the basket’s base attachment, spacing them out evenly. And you’re done!
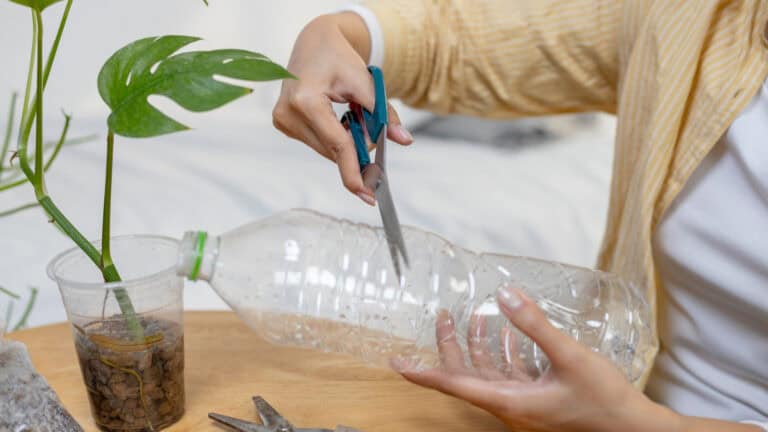
Goodbye Traditional Bird Baths: Use A Plastic Bottle To DIY One With Running Water
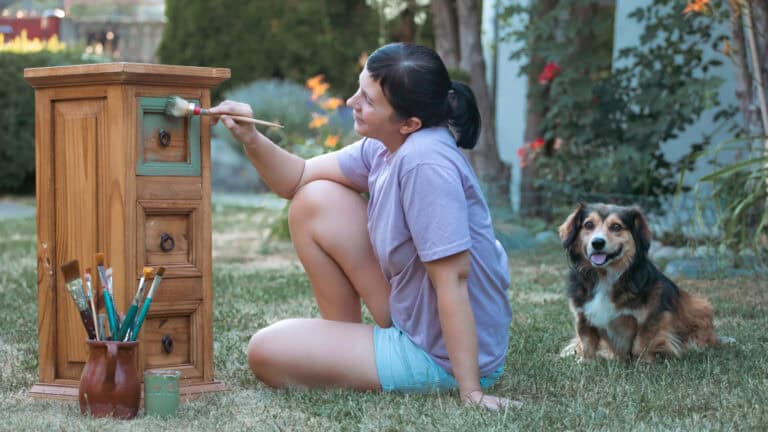
For More Beautiful Wood Furniture, Paint It Norwegian-Style And Never Go Back
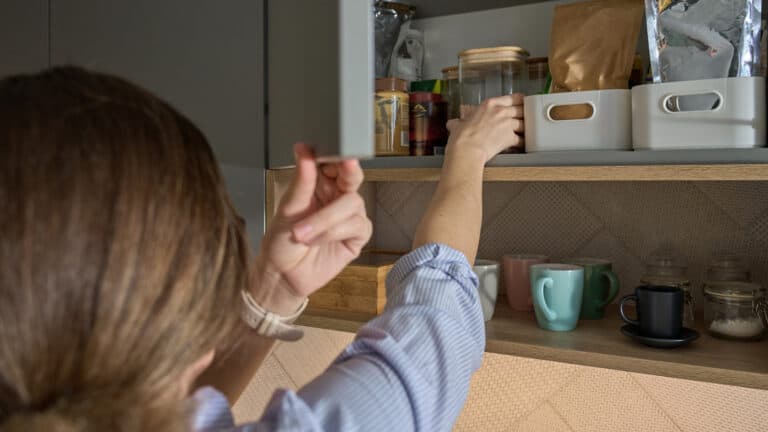
Turn A Cardboard Box Into Cleverly Hidden Kitchen Storage With A Savvy DIY
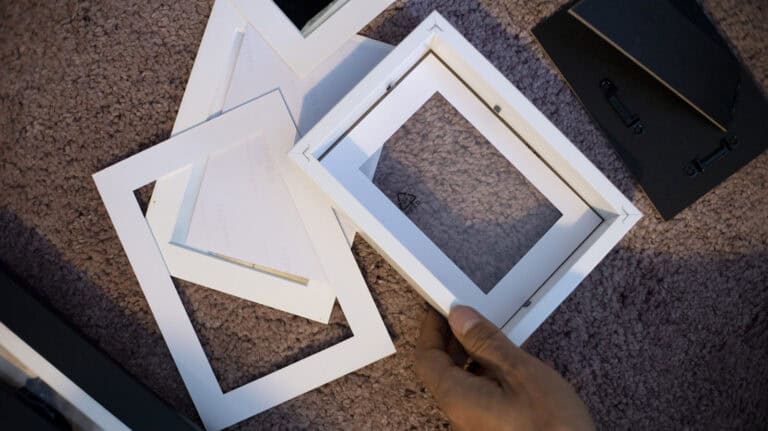
Everyone Used To Collect Them — Now They’re A Budget-Friendly Find For Collage Walls

Cardiologists: 2 Common Veggies Will Kill Your Belly Fat (Try It)
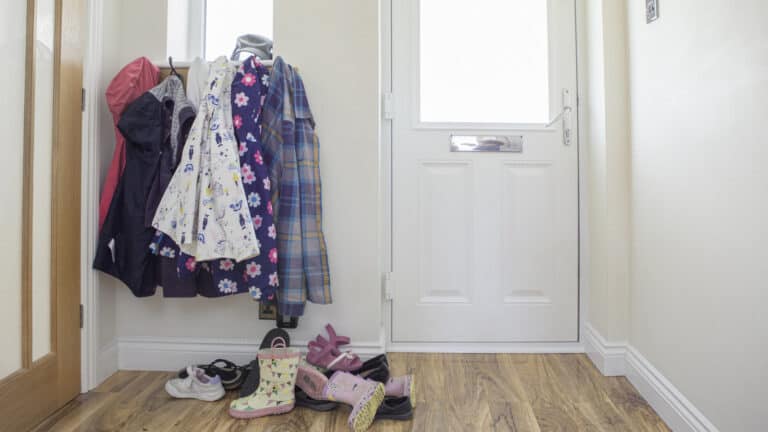
No More Boring Racks — This ’80s Find Is A Cuter Way To Organize Your Entryway
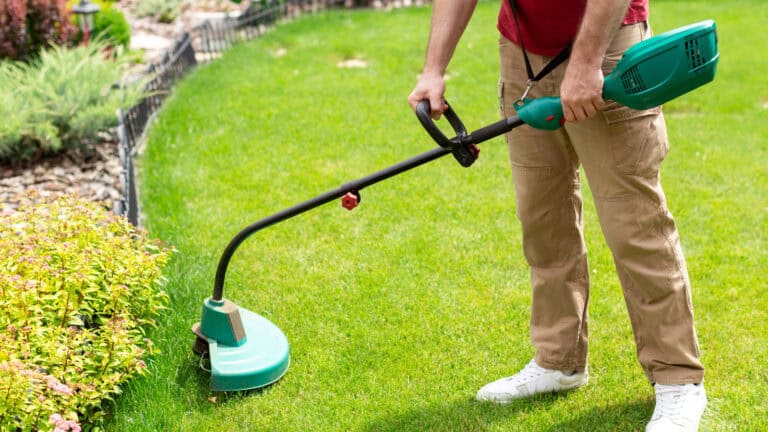
The DIY Weed Wacker Idea That Seems Genius, But Is Actually A Waste Of Time
Those Who Have Diabetes, Read It – Before They Delete It!
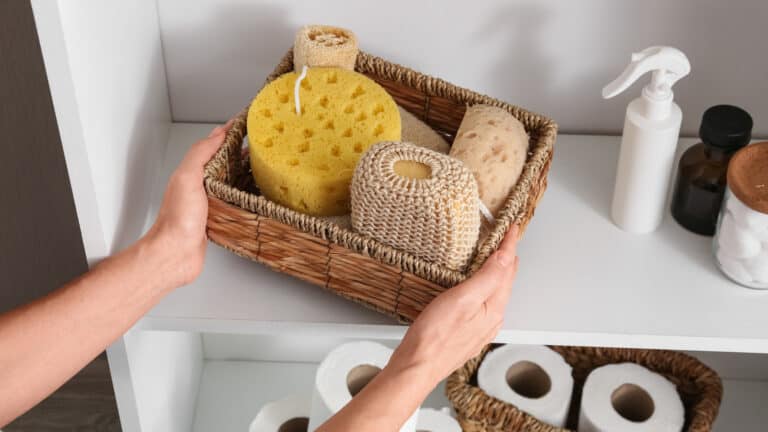
Trade In The Flimsy Baskets: The Durable Vintage Find That Creates Instant Storage