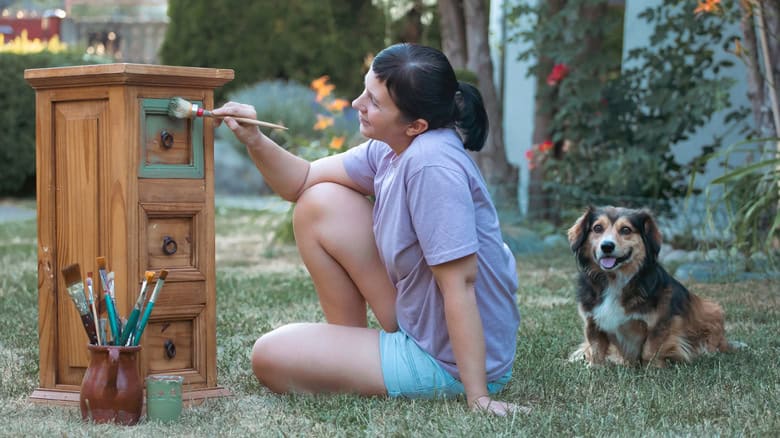
Wood furniture will never go out of style, but it’s certainly seen plenty of changes throughout the years. Ornate, highly detailed antiques, sleek, mid-century modern pieces, and shabby chic, whitewashed builds have all had their time in the sun at one point or another, leaving you reeling as you shop around for future heirlooms that will remain stylish for decades and . If you’re tired of settling for plain, risk-free wood pieces, consider upgrading them with some detailing that’s . After all, it’s been around for centuries.
Rosemaling is a type of painted Norwegian folk art that found its way onto furniture, functional items, and surfaces. Most popular in the 18th and 19th centuries, this decorative style was a natural extension of a long history of wood carving and weaving in the area. It most often features similar motifs to these art forms, with a particular emphasis on scrollwork and floral patterns. It’s colorful, sprawling, and distinctive, but it’s far from overwhelming — in most cases, the chosen palette remains earthy, and negative space is embraced as an artistic choice. The final look is ornamental but not dominating, especially if you only add these details to one or two pieces in each room.
While rosemaling is a fairly complex art form, DIYing your own pieces is certainly possible, especially if you’re a fan of simpler designs. With some brushes, paints, and a piece of wood furniture that’s in need of a zhuzh, you can create a piece that’s sure to impress for decades to come.
Turn A Cardboard Box Into Cleverly Hidden Kitchen Storage With A Savvy DIY

If you’re someone who likes being in the kitchen, chances are that you are always on the hunt for some practical storage. Whether it’s product manuals, coupons, or printed recipes, piles of paper can quickly lead to clutter and disorganization. Individuals who enjoy crafting are in luck, thanks to clever hidden kitchen storage that converts a cardboard box and some old cookbook covers into something useful.
In a video by Canterbury Cottage, the creator puts a fresh spin on the simple concept of upcycling an old cardboard box into a magazine holder. Starting with a cardboard box, she reinforces the seams with some heavy-duty tape. Next, she uses a ruler to draw a 45-degree diagonal line across both wide sides of the box to create the classic magazine holder shape. Next, she takes an old cookbook slipcover, applies glue stick to the inside, and lays it over the cardboard box, pressing firmly to secure it in place.
Finally, she fills it with random pieces of paper and places it on a bookshelf, next to her actual cookbooks. When situated in a row, you’d be hard-pressed to recognize the homemade magazine holder as anything other than another beloved cookbook; this makes it a great solution for those needing more spots to stash papers or even kitchen tools like plastic cutting boards and rolls of plastic wrap.
Making it personal
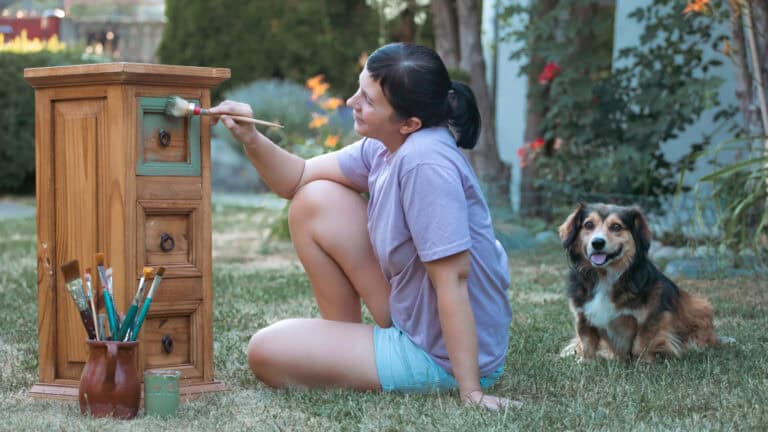
For More Beautiful Wood Furniture, Paint It Norwegian-Style And Never Go Back
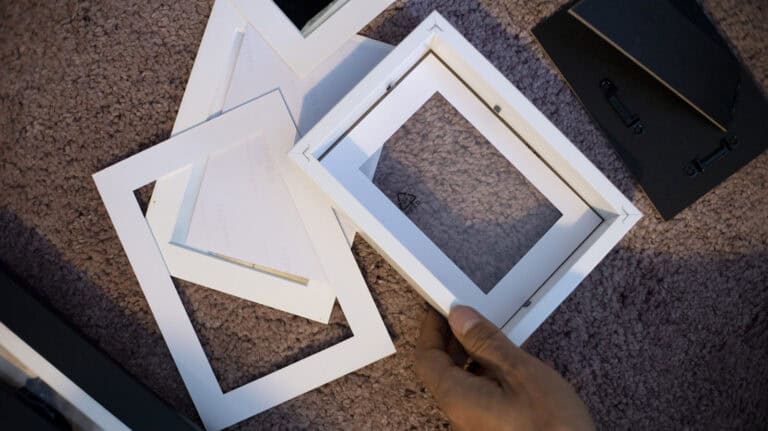
Everyone Used To Collect Them — Now They’re A Budget-Friendly Find For Collage Walls
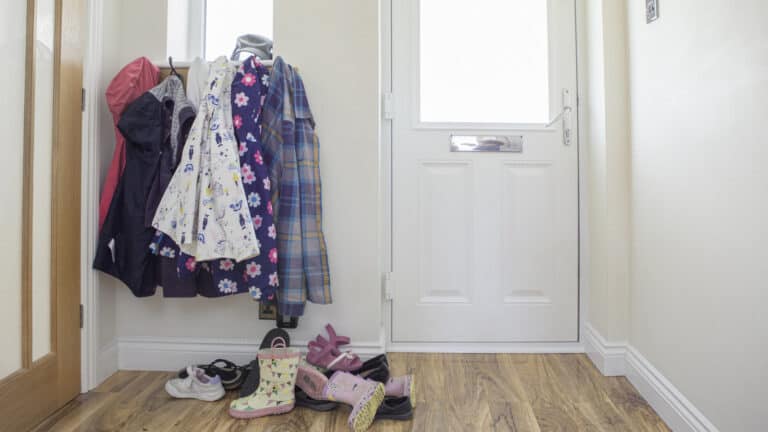
No More Boring Racks — This ’80s Find Is A Cuter Way To Organize Your Entryway
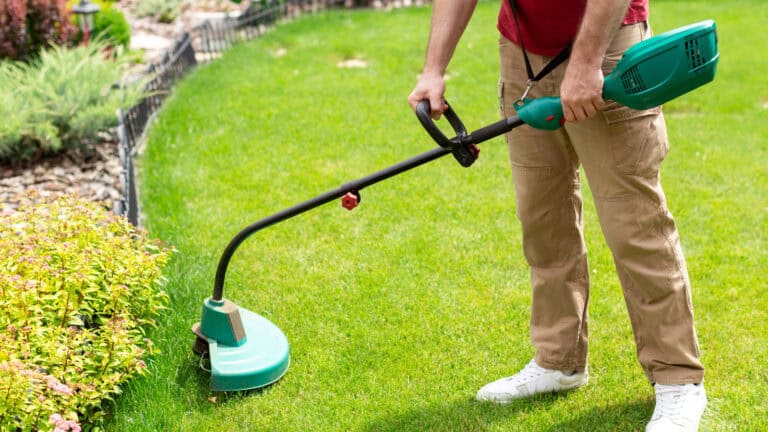
The DIY Weed Wacker Idea That Seems Genius, But Is Actually A Waste Of Time

Mucus From Lungs Disappears Overnight! Try This Simple Method
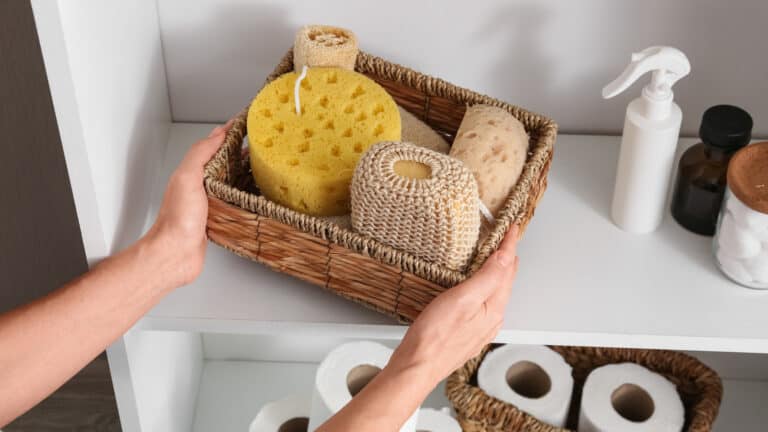
Trade In The Flimsy Baskets: The Durable Vintage Find That Creates Instant Storage

Use This Amazon Find To DIY Elegant Looking Pavers On A Budget

This Trick Will Give You An Erection At Any Age! (Try It)